Thursday, November 28, 2019

1745 AND AYE THAT!


On Monday Donald Adamson and I took forward a long term objective as we played the 1745 Campaign from ‘The Last Argument of Kings’ supplement.  I supplied the table and basic terrain and Donald provided all the troops.  The battles were fought with15mm figures and so we halved the movement and ranges in the Black Powder rules.  We used our usual alternative sequence for the rules – Initiative Moves, Shooting, Commanded Moves and Melee plus some specific amendments for the 18th century.

Donald took the part of the Hanoverian player and I was Bonnie Prince Charlie.  I rolled a 4 when I unfurled the Jacobite Royal standard at Glenfinnan giving me 5 Highland regiments so I decided to forego a reroll and marched at once to Edinburgh to meet the Sir John Cope’s army at Prestonpans.

Donald deployed his 4 infantry units in historical order with his 3 guns on their right and his 2 regiments of dragoons split to on either flank.  My right wing of 3 Highland regiments under Lord George Murray rapidly advanced and engaged Donald’s left of 2 battalions and Hamilton’s dragoons.  One infantry unit broke and fled from the terrifying Highland charge.  While the other retired and was destroyed in melee as the Highlanders followed them up.  The Dragoons repeatedly retired and then ran from the field.  My other 2 highland units screened this attack from the movement of the Hanoverian right wing.  I lost the Camerons in hand to hand combat but the arrival of the victorious right wing broke all the remaining Hanoverian units.
Prestonpans - Jacobites mass against Hanoverian left

Donald as General Cope prepares his victory message!

First Hanoverian Btn flees from the terrifying charge

Second  Hanoverian Btn broken in melee

Colonel Gardner leads his Regt home in rout

Once we did the recovery rolls I had lost no units whilst Donald had lost 3 infantry units and all his guns.  The survivors one infantry unit and the dragoons retired to join Field Marshal Wade.  I rolled badly on the Jacobite Victory table and got an upgrade to a single unit – I made a highland unit tough fighters. 

I decided to leave enough troops to effectively besiege Edinburgh and Stirling giving me another roll on the Jacobite Victory table – yet again an upgraded unit.  With only 2 units available to march into England I abandoned that plan and stayed in Scotland – giving me another roll on the Victory table –yet again an upgraded unit.  Luckily for me Donald’s Royal Navy Blockade roll was the worst he could get and I received 2 full units of Irish Piquets, a French Horse Regt and enough arms and money to make my last 2 Highland units tough fighters.

Facing an invasion of Scotland by Field Marshal Wade I decided to take the option of making a stand near Stirling and so brought on the Battle of Falkirk.  My Jacobites had their original 5 Highland regiments, now all tough fighters, the 2 full units of Irish Piquets, the French Horse Regt and 3 guns.  Donald allowing me to use the guns captured at Prestonpans – a true gentleman.  Donald as FM Wade had 14 Line infantry units, a Horse Regt, 3 Dragoon Regts and 4 guns. 

Being massively outnumbered but knowing my Highlanders Terrified all the units in the opposing army I decided to launch all the Highlanders supported by the French Horse at the Hanoverian left wing – consisting of 6 Dutch infantry Regts, a Horse Regt and a Dragoon Regt.  The Piquets and the 3 guns I deployed as a delaying force on my left wing.   So it was a bigger version of my Prestonpan’s plan.

It started well with the Highlanders and the French horse advancing a single move but then it all went wrong.  The British and French Horse met in melee and the French were pushed back 3 turns in a row before they broke.  Some truly abysmal dicing by me.  This continued and from turn 2 onwards I never managed to get the Highlanders to move.  Even using the Bonnie Princes rerolls and then his increasingly desperate follow me attempts.  Truly appalling!  The Highlanders just took more and more shooting hits without scoring much in return from the 3 Dutch battalions in the first line (they were deployed in 2 lines) and the 4 Hanoverian guns.  It was very sad.  One Jacobite highlight was a British Dragoon Regt charging a Highland unit in the rear and bouncing off!

On my left 6 British Infantry units and 2 Dragoon Regts broke the gallant Irish Piquets (2 regiments).  Watching the utter fiasco of the completely stalled Highland attack the Bonnie Prince turned his gallant steed and rode quickly for a French ship at Montrose.

It was good fun – Prestonpans was very historic and Falkirk turned into an even grimmer Culloden.

Link to all my photos on flickr
https://flic.kr/s/aHsmJMUZfH

Falkirk - the Jacobites massed to smash the Dutch wing of Wade's army

Irish Piquets doomed struggle

Highlanders stuck on the front of the ridge - immobile - Charles Edward thinking of best road to Montrose
Given the strength of the Hanoverian forces in England the Jacobites need very good rolls on the Jacobite Victory table to stand any chance of invading England.  Which I never got.  Also, they need to deploy more troops to besiege Edinburgh and Stirling Castles than the garrisons can deploy (1 Hanoverian unit is held to be in each garrison) – that commits 3 of the Jacobite units.  That rule needs changing and I think you need to set a minimum size of force that the Jacobites have to attain before they can even think of invading England.  Also another option is to give the Jacobites a +1 for each subsequent roll on the Victory table.  In addition, there has to be some option for the Jacobites avoiding Wade’s army, as happened historically, when invading England (perhaps a role of 4-6?) – If I was the Hanoverian player, I would always get Wade to march to Carlisle – what else would he do!

Anyway, great fun, and more than enough to make us want to do it again with suitable tweaks. Also we are now inspired to consider the 1715 Campaign.


JACOBITE 1745 Weapon Type
H_H
Shooting
Morale
Stamina
Useful Rules
Highland Clan Musket, Pistol, Sword Warband Infantry
7
2
4
3
First Fire, Terrifying
Lowlanders Musket Reg Infantry
6
3
4
3


French Piquets Musket Reg Infantry
4
2
4
2
First Fire, Reliable


Horse Sword, Carbine Cavalry
4
0/2
4
2
Mounted Infantry


Light Artillery Artillery Smoothbore
1
3-2-1
4
2


HANOVERIAN 1745 Weapon Type
H_H
Shooting
Morale
Stamina
Useful Rules
Guards Musket Reg Infantry
7
3
3
4
First Fire, Reliable
Line Infantry Musket Reg Infantry
6
3
4
3
First Fire
Highland Infantry Musket Reg Infantry
6
3
4
3
First Fire
Yeoman/Recruits Musket Reg Infantry
6
3
5
3
Freshly Raised


Horse Sword Cavalry
8

4
3
Hvy Cav +1
Dragoons Sword, Carbine Cavalry
6/4
0/2
4
3
Mounted Infantry,
Freshly Raised?


Light Artillery Artillery Smoothbore
1
3-2-1
4
2


Small units reduce Hand to Hand by 2, Shooting by 1 and Stamina by 1.

First Fire           Add1 dice to first shooting

Skirmish           Can adopt skirmish formation

Reliable            Add1 to Command Level

Terrifying          Charged opponents must take a break test

Mounted Inf      Can combine a mount /dismount to any move order, cannot be combined    with a charge. On foot they skirmish.


PERIOD SPECIFIC HOUSE RULES – mainly from Last Argument of Kings

Cavalry which become Disordered by closing fire retire disordered one move.

Infantry with secure cover on a flank count this as a support in combat resolution.

Artillery, other than battalion guns, once deployed cannot be manhandled or relimbered but can turn in place as move.

Infantry in line cannot use more than 2 moves.

Sunday, November 10, 2019

TARGE 2019 KIRRIEMUIR


This weekend I travelled to the Targe 2019 show held at Webster’s High School Kirriemuir by the Kirriemuir Wargames club.  This year I was helping put on the Gothenburg Gamers Bay of Pigs 1961 demonstration game.  Tim Watson had put the display together and he was supported by his daughter Karen, myself and Donald Adamson.  We used Bolt Action 1 with elements of BA2 as the rules.

We were successful winning the award for the best display game.  The award for the best PP game was won by Falkirk and Districts Falklands War SAS Raid on Pebble Island.  Overall it was an enjoyable show, I was busy for a long time talking to visitors to our display.  Here is link to all my photos from the show

https://flic.kr/s/aHsmJhyjmg
Some of the photos below


CIA advisor Donald having a coffee before the action hots up

The Tanks in a Tin Walker Bulldogs run ashore

Large 15mm Ottoman Vs Polish/Lithuanian Commonwealth game

SESWC Wings of War pp game

Iron Brigade wonderful Pacific beach assault

Another Pacific beach assault

Leuchars Boshin War

Falkirk Pebble Island pp game

Thursday, October 31, 2019

28MM ACW 1863 THE ASSAULT OF FORT BARTOVSKI


ACW FORT BARTOVSKI 1863

I was away at the weekend in Methil in Fife for a 2 day large scale 28mm ACW game.  It was played by 13 gamers from our AB1 group.  Bart Zynda developed the OB and scenario which was a Union attack to defeat the covering Confederate forces and capture the formidable Fort Bartovski.

The rules used were Black Powder 2.  The House Rules employed were our usual ones shown on my pages, using our revised turn sequence.  In addition we used some of the ACW specific rules set out in Glory Hallelujah.  It was fun with lots of troops on the table.  The game was still in the balance at the end but it decided to be a marginal Confederate victory.

The battlefield we used consisted of 3 6ft by 12ft tables.   The game was played lengthwise and there was a 5ft gap between each table. Unlike our 1813 Leipzig game the tables did interact with units able to move onto and fire into the adjoining tables. 

I have added a note at the end of this post on the rules we used from Glory Hallelujah and how I think they worked.

Thanks to everyone who have helped get my all time pageviews to over half a million! 

Now some photos from the game and below is a link to all my photos on flickr.

https://flic.kr/s/aHsmGrrWdv


The mighty Fort Bartovski - 2 naval 9" Dalhgrens being it's heavy firepower.  My Vauban fort getting an outing.

Union right wing forces - 4 brigades - massed for their attack

On the left table the Rebs have gained the fence/wall line and open fire

Union left wing attack underway - my Zouaves in reserve

Grim struggle in the centre as Union break through towards Fort Bartovski


BLACK POWDER ACW SPECIFIC AMENDMENTS FROM GLORY HALLEJUHAH

Charges
Cavalry can charge cavalry under initiative.  All other charges must be ordered.  If the charging unit is in the frontal arc of the target it receives a -2 command modifier except if it is a cavalry vs cavalry charge.  Cavalry cannot charge infantry or artillery frontally unless they are disordered or shaken.

Support
Infantry cannot support cavalry and vice a versa.

Cavalry
Cavalry get free mount/dismount at the start or end of their movement.  Dismounted they count as skirmishers.

Passage of lines

Advancing units: when 50% of the unit passes thru a friendly unit within 24” of the enemy have to take a ‘For God’s Sake Come On’ test.   This is done by testing against their morale value.  If the unit has no casualties or either unit has a commander attached there is a +1 modifier to the dice roll.  If the score equals or exceeds their morale value the unit passes thru normally.  If the score is 1 less than their morale value they halt immediately they pass thru the other unit.  If the score is 2 or more less than their morale value they halt immediately they contact the other unit. If they fail next turn count result as a -1 failure.

EFFECT
We found that the charging rules led to long firefights and a very indecisive game.  So for day 2 of the game we omitted the “If the charging unit is in the frontal arc of the target it receives a -2 command modifier except if it is a cavalry vs cavalry charge” rule.  We also decided that fences had no effect on shooting (Day 1 they had gave +1 on Morale Tests) but still remained a movement obstacle.  These changes certainly improved the last day of the game.
 
Further Update
I played a game at home on Wednesday with the Gothenburg Gamers and we used this further simplified set of ACW specific rules.

Charges
Cavalry can charge cavalry under initiative.  All other charges must be ordered. 
Cavalry cannot charge infantry or artillery frontally unless they are disordered or shaken.

Support
Infantry cannot support cavalry and vice a versa.

Cavalry
Dismounted cavalry count as skirmishers.

Passage of lines
Advancing units: when 50% of the unit passes thru a friendly unit within 24” of the enemy have to take a ‘For God’s Sake Come On’ test.   This is done by testing against their morale value.  If the unit has no casualties or either unit has a commander attached there is a +1 modifier to the dice roll. 
If the score equals or exceeds their morale value the unit passes thru normally.  
If the score is 1 less than their morale value they halt immediately they pass thru the other unit.  If the score is 2 or more less than their morale value they halt immediately they contact the other unit. If they fail next turn count result as a -1 failure. 

We also used this variant of the Useful Rule in GLORY HALLEJUHAH for both games.
Rebel Yell: Confederate infantry units that charge into combat may reroll 1 hand to hand miss.

Friday, September 20, 2019

28MM BLACK POWDER: BENDY CREEK 1777

This week I finally managed to clear my wargames table so that I could stage a game for some members of the Gothenburg Gamers.  It was the first time in at least 6 months that I had put on a table top game.

The game was the fictional battle of Bendy Creek set during Burgoyne’s Albany campaign.  The British army is advancing on Albany and a vanguard has been sent forward to seize the vital bridge over the Bendy Creek.  Capturing the bridge intact will allow the artillery and wagons with the main army to proceed towards Albany.  This objective is met if the British hold both ends of the bridge at the end of the game.  The Patriot objective is to destroy the bridge or to prevent the British achieving theirs.

Tim Watson commanded the Patriot Continentals and I had the Militia whilst Donald Adamson commanded the British and Colin Jack the Brunswickers/Hessians.  I provided all the figures and terrain.  The British had the higher quality troops with the Brunswick Grenadiers being the outstanding unit on the table. The veritable ‘Old Guard’ of Bendy Creek.

The first brigade of each army was deployed on the edge of the table on their road side of the creek.  To explain the creek ran across the centre of the table  between the 2 long table edges with the bridge at the mid-point of the table.  The second brigade of the armies could attempt to march onto that area on their first turn or delay their arrival until turn 2 on their non road edge of the table i.e. assuming they had crossed the creek upstream/downstream of the bridge.  The creek could be forded by infantry 6” away from the bridge.  Artillery could only cross the on-table creek via the bridge.
Bendy Creek flowing peacefully - British will be to the right Patriots to the left

British brigade closes up to east end of the vital bridge
It was a fun game fought on a 8ft by 6ft table.  Both sides decided to commit their second brigade on the other side of their table edge.  After an initial Continental shock success breaking a Brunswick battalion things went steadily downhill with the Patriots losing 4 battalions and both their guns and failing to break another British unit.  The brave Patriot survivors decided to retire towards Albany.  I am sure Tim will pen a fuller account of the action to justify his headlong advance towards the bridge which led to this Patriot setback and here it is:
https://moth107.blogspot.com/2019/09/how-to-lose-battle-in-one-chargehaynes.html?spref=fb&fbclid=IwAR3Pzn6zENpaioJUB5Aut199t6t3ytgrRL0_3WCN7D0ZeRhFPp74ARk-x_0
The game proves you don’t need to cover a table with figures to have an enjoyable exciting game. Here is a link to all 11 of my photos at https://flic.kr/s/aHsmH9pAsc
Brunswickers engage the flank of the New Hampshires

New Hampshires are driven back and followed up by the Germans


Here is the OB, game specific rules and troop ratings.   Infantry units of 20 figures are standard sized and 12 figure units are small.  All commanders are rated as 8.

British Forces

C-in-C Simon Fraser

British Brigade

3 Line Battalions                                          20 figures ea

Light Infantry  Detachment                          12 figures

Royal Artillery Detachment                            2 guns

German Brigade

Grenadier Battalion                                    20 figures

2 Fusilier Battalions                                    20 figures ea

Jaeger detachment                                      12 figures

Amusette team                                               2 figures

Patriot Forces

C-in-C Benedict Arnold

Continental Brigade

3 Line Battalions                                          20 figures ea

Cont  Skirmishers                                        12figures

Artillery Detachment                                        light gun

Militia Brigade

3 Militia Battalions                                       20 figures ea

New York Skirmishers                                 12 figures

Artillery Detachment                                        light gun


Game Rule Modifications

Used alternative sequence of Initiative Moves, Firing, Commanded moves.

Used 100% movement rates and ranges

Troops lining fences get advantage of a +1 Morale save to shooting.


Woods

Skirmishers move at full speed through woods.  Formed troops move at half speed.

Artillery cannot move through woods.

Infantry in woods get +1 morale save to shooting except when charging.

Formed troops in woods are a clear target.


Action on the east side  of the Creek - British charge met by a feeble militia volley!!!

Remnants of Patriot force disengaging
Troop Ratings

These are my latest basic troop ratings for the AWI.  I have cut back the number of Useful rules used.  I might make British formed infantry either Terrifying or Ferocious when engaging some militia.

UNIT ARMAMENT H TO H SHOOTING MORALE STAMINA SPECIAL
Continental Line Musket 6 3 4+ 3 --
Cont Lights small Rifle/Musket 4 2 4+ 2 Skirmish, marauders
Militia Musket 5 3 5+ 3 Unreliable
Militia Lights  small Rifle/Musket 3 2 5+ 2 Unreliable
Skirmish, marauders
Cavalry small -- 4 -- 4+ 2 Marauder
Artillery smoothbore 1 3-2-1 4+ 2 --
Light Artillery smoothbore 1 2-1-1 4+ 2 --
Skirmish Can adopt skirmish formation
Marauders Ignore distance penalty when given orders
Unreliable No move on equal command roll
UNIT ARMAMENT H TO H SHOOTING MORALE STAMINA SPECIAL
Grenadiers Musket 7 3 4+ 4 Stoic, Elite 4+
British Line Infantry Musket 6 3 4+ 3  Stoic
Hessian Infantry Musket 6 3 4+ 3 --
Loyalist Infantry Musket 6 3 5+ 3 --
Jaegers small Rifle 4 2 4+ 2 Skirmish, Marauders
Skirmishers small Musket 4 2 4+ 2 Skirmish, Marauders
Cavalry small -- 4 -- 4+ 2 Marauder
Artillery smoothbore 1 3-2-1 4+ 2 --
Amussette smoothbore 1 1-1-1 4+ 2 Range as Light Art but no Artillery advantages
Skirmish Can adopt skirmish formation
Marauders Ignore distance penalty when given orders
Stoic May reroll first break test
Elite Can rally of disorder at start of turn on roll of 4+

Tuesday, September 10, 2019

RUSSIAN MILITARY TECHNICAL MUSEUM MOSCOW OBLAST


During August we travelled to Moscow to see our first grandchild Diana who is now 10 weeks old.  On a cultural outing to the historic estate of Archangelskoi just west of Moscow we passed near to a military museum and I was persuaded by Mrs G, Helena to visit.  It proved to be the Russian Military Technical Museum at Chernogolovka.  It has a very impressive collection of  armoured vehicles, artillery and vehicles.  I am fairly sure that it is a private Museum.

Below are some of my photos of the WWII equipment.  Here is a link to all my photos on Flickr
https://flic.kr/s/aHsmGMT9cN
Next museum post will be the Russian Central Airforce Museum at Monino just east of Moscow.


Myself with Diana in the baby stroller and 2 T38 amphibious tans and a PZ38T


Propeller and rudder of a T38


T60 light tanks

T70 light tanks

T44


RSO/PAK40 - rare vehicle only 60 built


RSO/PAK40 DATA SHEET
Two T37 amphibious tanks plus more exhibits

Saturday, September 7, 2019

MORE 28MM NAPOLEONIC FIGURES


Here are some photos of the latest additions to my Black Powder Napoleonic collection.  They are 2 gun Saxon and Spanish 12pdr batteries from Elite Miniatures and the Front Rank Polish General of Division Dabrowski and 2 ADCs.  I really like the Elite gun models and they make up the bulk of my artillery.  Front Rank command figures are so nice and crisp. They were painted by Kevan Bowman then based by me.
The impressive Front Rank Dabrowski and staff

Another view

Saxon 12pdr battery - my first Saxon unit

Spanish 12pdr battery - to give my Spanish some heavy hitting power

Saturday, August 3, 2019

CLAYMORE 2019 - EDINBURGH 3RD AUGUST

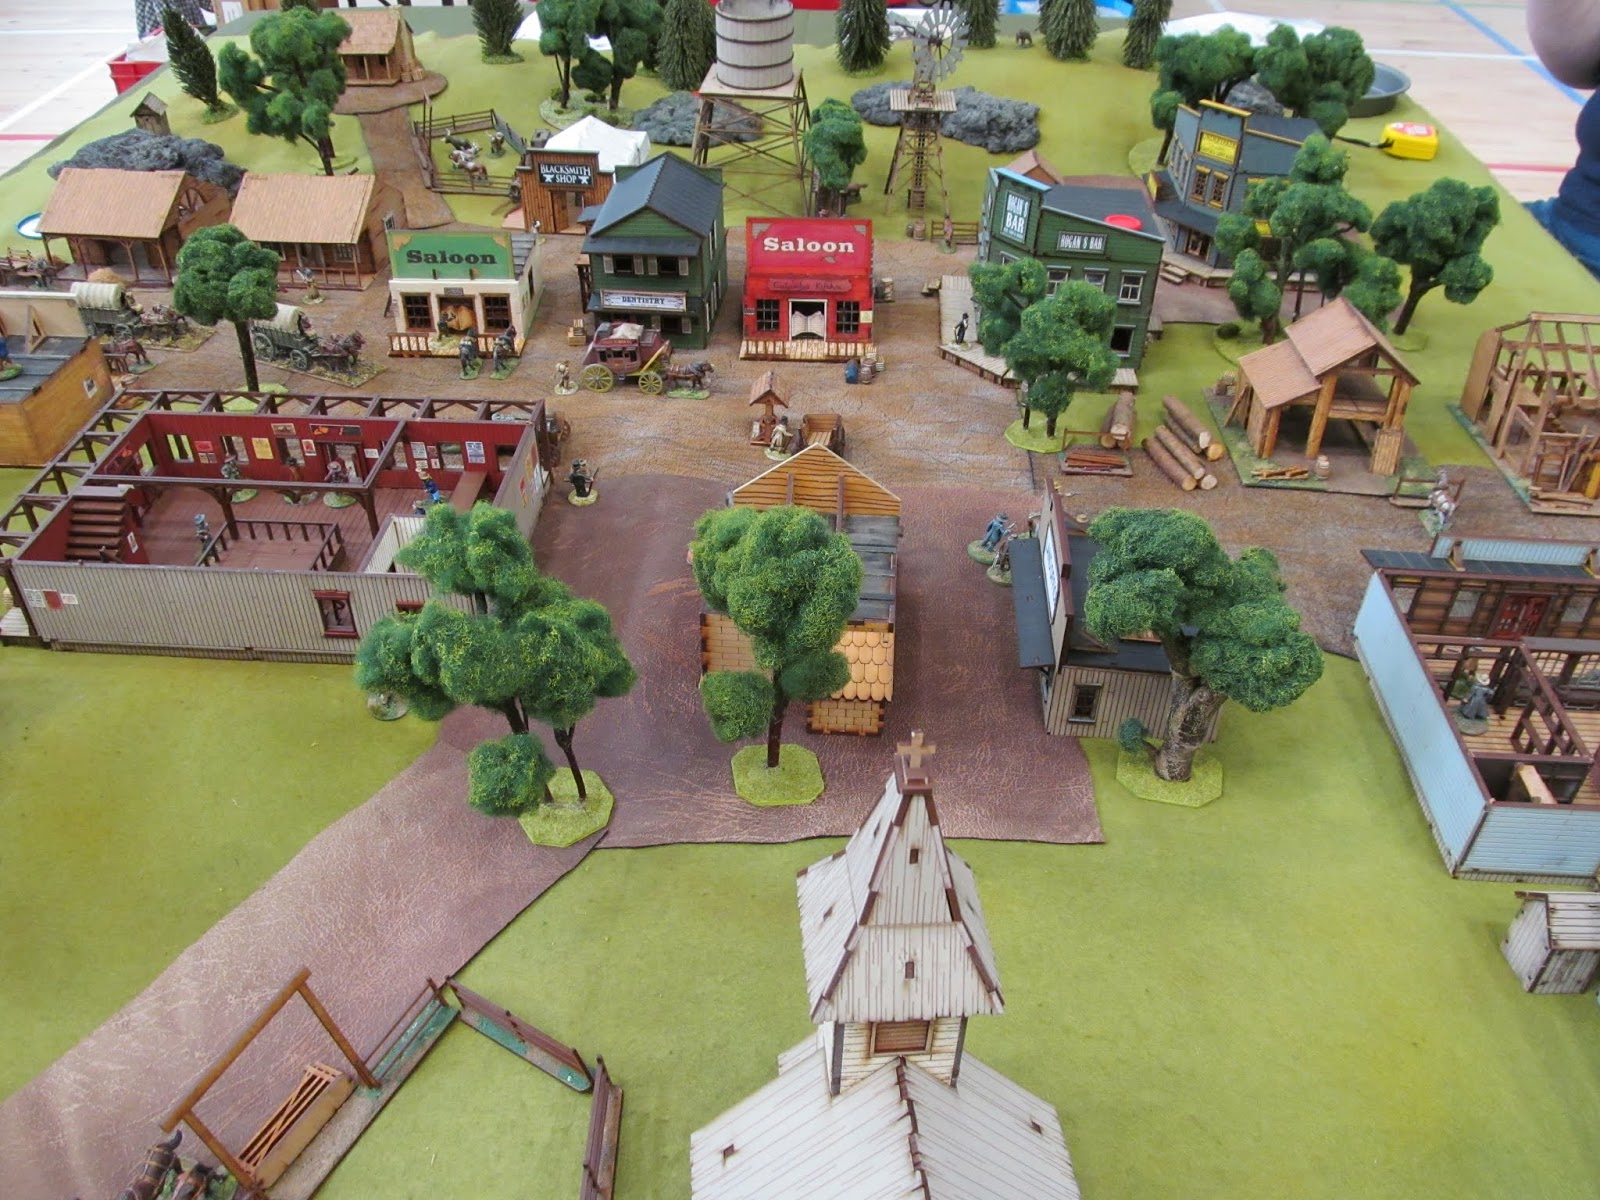
This Saturday I was at Claymore 2019 in Edinburgh.  Our Group the Gothenburg Gamers put on my Playmobil 75mm Wild West PP Game.  I think we played 5 to 6 games overall using a simplified version of Legends of the Old West.  All in all a successful enjoyable day for the 6 of us that attended.  Every player, even parents, went away with a packet of Milky Bar chocolate drops. My one buy of the day was the Warlord Bolt Action D-Day Overlord Campaign book.

The number of visitors seemed to be less than previous years.  Here are a few photos of games at the show and below is a link to all my photos on Flickr
https://flic.kr/s/aHsmFRY3RA

Our Playmobil game - quiet end of our table - towns folk and posses

Some of the team -LtoR Tim, myself, Donald, Dave  missing Colin and Mr Ray

Lawman posse, friendly Injuns and the Loco

SESWC - 1866 Battle of Gitschen by Gerry Henry


Kirriemuir - Dead Mans Hand

Very nice League of Augsburg display - I love that mortar 

Iron Brigade Sudan - impressive fortlet

Falkirk - Falklands - the SAS raid on Pebble Island